Introduction
Budget
Don't be discouraged if you cannot afford the best equipment, you can make strategic improvements to your setup over time to increase your production quality as you increase your revenue.
Get Started Now
If you don't have lights, use natural light from your window! Don't let anything stop you from starting your streaming journey!
About Lighting
Mastering the use of key, fill, back, and background lights, along with understanding how practical lights can enhance a scene, allows photographers and videographers to craft compelling, visually rich narratives. Remember, lighting not only illuminates but also shapes the viewer's emotional response to the image or video. Keep practicing, as lighting setups can be as varied as the stories they help tell.
Common Equipment
LED Panels
LED Panels are very versatile as they can be used as key lights, fill lights, background lights, and more. As you upgrade your equipment, you can move these to serve different roles.
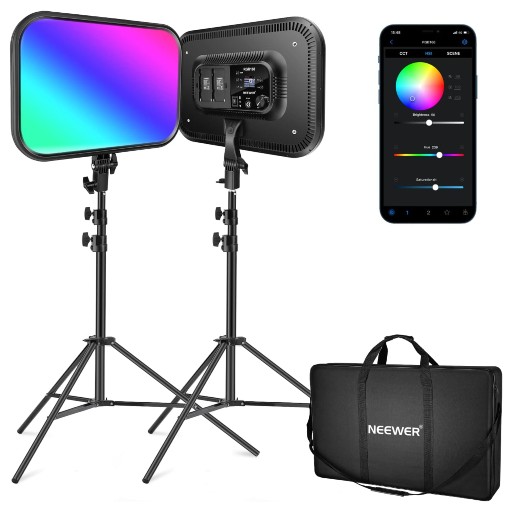
RGB168 LED Panel
These versatile LED panels can be powered by AC or batteries and accurately project colors or shades of white.
Key Lights
The key light is your primary light source, which defines the most visible lighting and shadows on your subject. It's the strongest light in your setup.
- Angle: Typically, the key light is placed at a 45-degree angle from the camera, either high or low depending on the desired effect.
- Distance: Experiment with distances to control the hardness or softness of shadows. Closer for softer light, further for sharper shadows.
Fill Lights
The fill light is used to soften the shadows created by the key light, balancing out the lighting on your subject to reduce contrast.
- Direction: Opposite to the key light, generally closer to the camera or directly below it to fill in the shadows without creating new ones.
- Intensity: Less intense than the key light, often using a diffuser or at a lower power setting.
Back Light (Rim Light or Hair Light)
This light comes from behind the subject, separating them from the background, creating a halo or rim effect around the subject's edge.
- Placement: Behind the subject, often slightly above and aiming down or at an angle.
- Angle: Adjust to highlight hair or shoulders, creating a silhouette or glow around the subject.
Background Light
This light illuminates the background to separate or blend it with the subject, depending on your artistic intent.
- Placement: Positioned to light the background without spilling onto the subject.
- Type: Often a soft light to avoid harsh shadows on the background.
Practical Lights
These are lights that appear in the frame, like lamps, candles, or overhead lights, which contribute to the scene's authenticity.
- Test and Adjust: Always test your lighting setup before the shoot. Adjust the lights to see how they interact with your subject and scene.
- Balance: Aim for a balance where no single light overpowers unless that's the effect you're seeking.
- Color Temperatures: Be mindful of the color temperatures of your lights. Mixing tungsten with daylight can yield creative effects or require correction.